
Is Your Spigot Leaking?

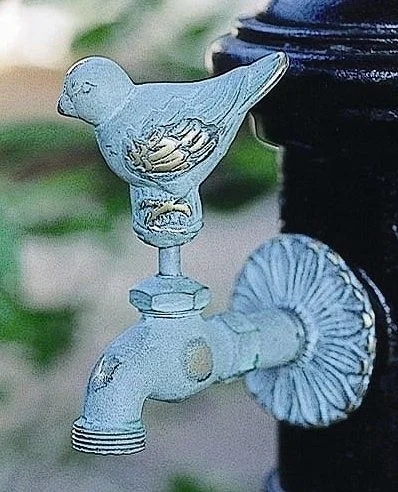
Decorative spigots are a fun way to dress up the yard
Now that summer is here, Arizona residents are going to be spending more time outdoors, which means they’re going to be using their hose bibb for things like a sprinkler or filling the kiddie pool, washing the cars and giving outdoor plants extra water.
Bluebird
It used to be that a leaking spigot signaled to the homeowner that it was time to plant some mint beneath it. We enjoyed quite a lot of mint from the plants beneath our grandparents' leaky spigots, but people are a little more water wise these days.
So, the spigot might need to be repaired or replaced. We do have some minerals in the Valley water, caused by the soil along the path our water takes getting here from Colorado. Those minerals are hard on spigots. Being in the elements all the time is hard on them, as well, and if the spigot gets a lot of use, it’s more likely to leak.
In some cases, if you’ve picked out a decorative new spigot, for example, it’s best to just replace the old one. Your licensed, bonded, insured Phoenix plumber can easily do that for you, or you can do it yourself if you’re fairly handy.

Spigots can also be repaired, so if you have one that is leaking, you might be able to repair it yourself.
You’ll have to shut off the water supply first. Turn the spigot on afterward, so it has a chance to drain. First, remove the handle with a Phillips head screwdriver. You’ll have to use a wrench to unscrew the packing nut beneath the handle. Turn it counter clockwise. If the mineral buildup has frozen it, you might have to use a pair of pliers, another wrench or a pair of channel locks to hold the spigot steady while you do this.

After you pull off the nut, you can remove the valve from the faucet housing. Invert the valve, and then use a Phillips head screwdriver to loosen the valve seat washer. Pry it away with the flathead screwdriver, and replace.
If the handle was leaking, when you remove the handle from the valve (using a Phillips screwdriver) you can remove the packing nut and replace the packing washer. If it has a string, remove the old from the packing threads and rewind them with new string. (This should be graphite treated spring.)

That looks heavy!
If you have to take the valve into the hardware store to get the right washers, that’s probably a better idea than using the incorrect ones.
Return the valve to the faucet assembly, screw the packing nut back on, and wrench tighten. Put the handle back on, tighten, and then turn the water back on to see how you did. We've provided a photo, but here is a video to give you some visual context, as well.
The good thing about an outdoor spigot (which isn’t true of most other plumbing DIY) is that it is outdoors, so if you didn't get it quite right, it’s not going to flood the kitchen. Otherwise, it’s a well-done job!